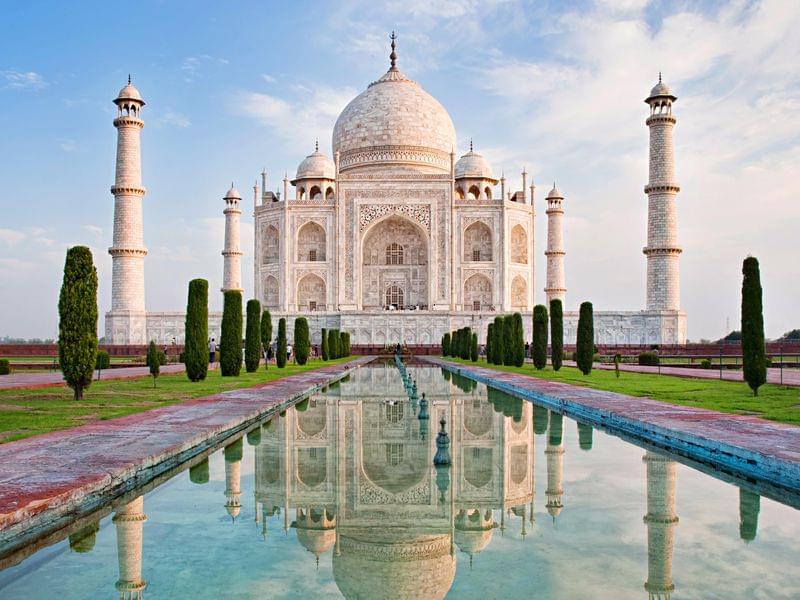
Are you planning a trip to India but dreading the visa application process? Don’t worry, we’ve got you covered! One of the most crucial steps in getting your Indian visa is submitting a perfect photo. But don’t panic – with our top tips and tricks, you’ll be on your way to picture-perfect documentation in no time. Say goodbye to stress and hello to hassle-free travel as we guide you through the process of nailing that all-important Indian visa photo on the first try! INDIAN VISA PHOTO REQUIREMENTS
Understanding Indian Visa Photo Requirements
If you’re planning to travel to India, it’s important to make sure your visa photo meets all of the requirements. Here are a few tips to help you get it right the first time:
1. Make sure your photo is taken against a plain white background.
2. Make sure your face is clearly visible and that there are no shadows.
3. Wear normal everyday clothing. T-shirts, shirts, and blouses are all acceptable.
4. Do not wear sunglasses or a hat.
5. If you have long hair, make sure it is pulled back away from your face.
6. Keep a neutral expression – no smiling or making any other faces!
Preparing to Take Your Indian Visa Photo
When you’re getting ready to take your Indian visa photo, there are a few things you’ll need to keep in mind. First, make sure you have a white background behind you. This will ensure that your photo meets the requirements set by the Indian government.
Next, be sure to remove any glasses or hats that you might be wearing. These items can obscure your face and make it difficult for the officials to properly identify you. INDIAN VISA PASSPORT REQUIREMENTS
Make sure you’re smiling in your photo! A big smile will help show the officials that you’re happy to be visiting their country.
Tips for Taking a Good Indian Visa Photo
If you’re planning a trip to India, you’ll need to make sure your visa photo is up to scratch. Here are our top tips for getting it right the first time:
1. Make sure your face is clearly visible. There should be no obstructions in front of your face, and your whole head should be in shot.
2. Check the background. Make sure it’s a neutral colour (white or grey are best), and that there’s nothing else in the frame that could take away from your face.
3. Smile! A good smile will make all the difference in your visa photo, so make sure you show those pearly whites.
4. Check the lighting. Avoid shadows on your face by making sure the light is coming from in front of you, not behind or from the side.
5. Follow the guidelines. Each country has different requirements for visa photos, so make sure you check what they are before you submit your application.
Guidelines for Editing and Submitting Your Indian Visa Photo
When you’re applying for a visa to travel to India, it’s important to make sure that your visa photo meets all of the requirements. Here are some guidelines to help you get it right the first time:
1. The photo must be taken against a white background.
2. The photo must be recent, and should ideally be taken within the last six months.
3. You should be facing the camera directly, with a neutral expression and mouth closed.
4. Make sure that your whole face is visible, and that there is no hair obscuring your forehead or eyes.
5. Your ears should be visible, and you shouldn’t be wearing any headgear other than religious headwear. If you do wear religious headwear, it must not obscure your face in any way.
6. Glasses are allowed in your visa photo, but if you wear them make sure there are no reflections or glare on the lenses.
How to Get the Best Quality Print for Your Indian Visa Photo
If you’re planning to travel to India, you’ll need to make sure your visa photo is of high quality. Here are some tips on how to get the best quality print for your Indian visa photo:
1. Use a professional passport photo service: There are many companies that offer passport photo services, and they can be a great option if you want to ensure your visa photo meets all the requirements. Look for a company that offers high-quality prints and has experience with Indian visa photos.
2. Take your own passport photo: If you’re comfortable taking your own passport photo, you can do so using a digital camera or smartphone. Just make sure the image is clear and meets all the requirements (see below).
3. Use a passportphoto app: There are also several apps that allow you to take and print high-quality passport photos from your own home. Again, just make sure the image meets all the requirements.
4. Get it printed at a local shop: If you don’t want to take your own passport photo or use an online service, you can always get it printed at a local shop, such as a pharmacy or grocery store. Just ask them to print it in 4×6 inch format and make sure the resolution is at least 300 dpi.
5. Follow the requirements: Regardless of how you choose to get your passport photo taken, make sure it meets all the requirements set by the Indian government. The image must
Conclusion
Taking the perfect Indian visa photo is an important step in obtaining your visa and traveling to India. Following the guidelines provided here will help ensure that you have a successful application and get approved for your Indian visa quickly. Remember, paying attention to the details is key when it comes to submitting photos that meet all of the required criteria. Whether you are taking a selfie or having someone else take your picture, make sure you double-check that everything looks just right before submitting it. Good luck on getting your Indian Visa!